It all started with this picture...

Our first good family picture in Y-E-A-R-S.
It deserved a special place in our home.
I thought this was the perfect wall for it...

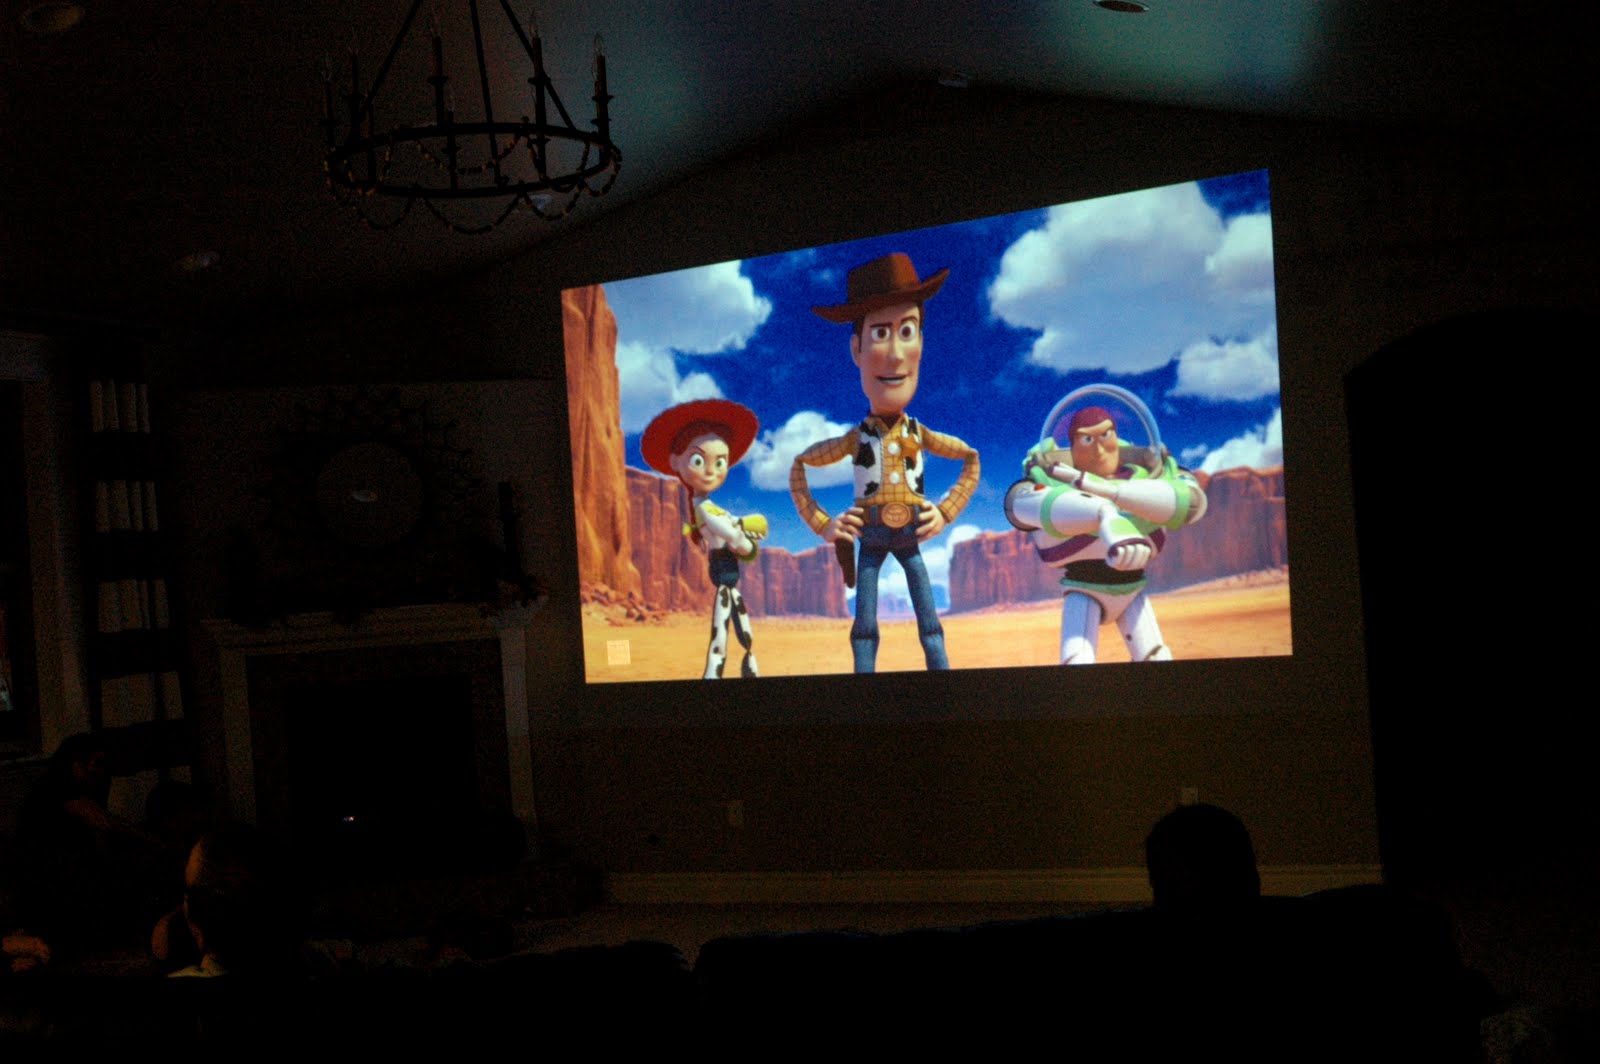
But, while our family was visiting us for Thanksgiving we used the "perfect" wall for this...

And I loved it so much that I decided to keep that wall clear for
lots of future movie nights!
So, this was the next "perfect" wall choice...

This wall is seen right when you walk in the front door and goes down the staircase.
BEFORE I started hanging pictures I spent
months looking for things I
LOVE to hang around our family picture.
I've made the mistake toooo many times of buying things just to fill a space. I would get sick of those "things" within weeks and go looking for other "things" to replace them.
A interior designer friend of mines best advice, "If you only buy things you L-O-V-E you will LOVE your space." I agree!!
This time I was determined to make this wall meaningful and ALL about our family.
Once I found every piece I laid them all on the floor and moved things around until I loved it then I grabbed a measuring tape and jotted down how close every piece was to the things around it.
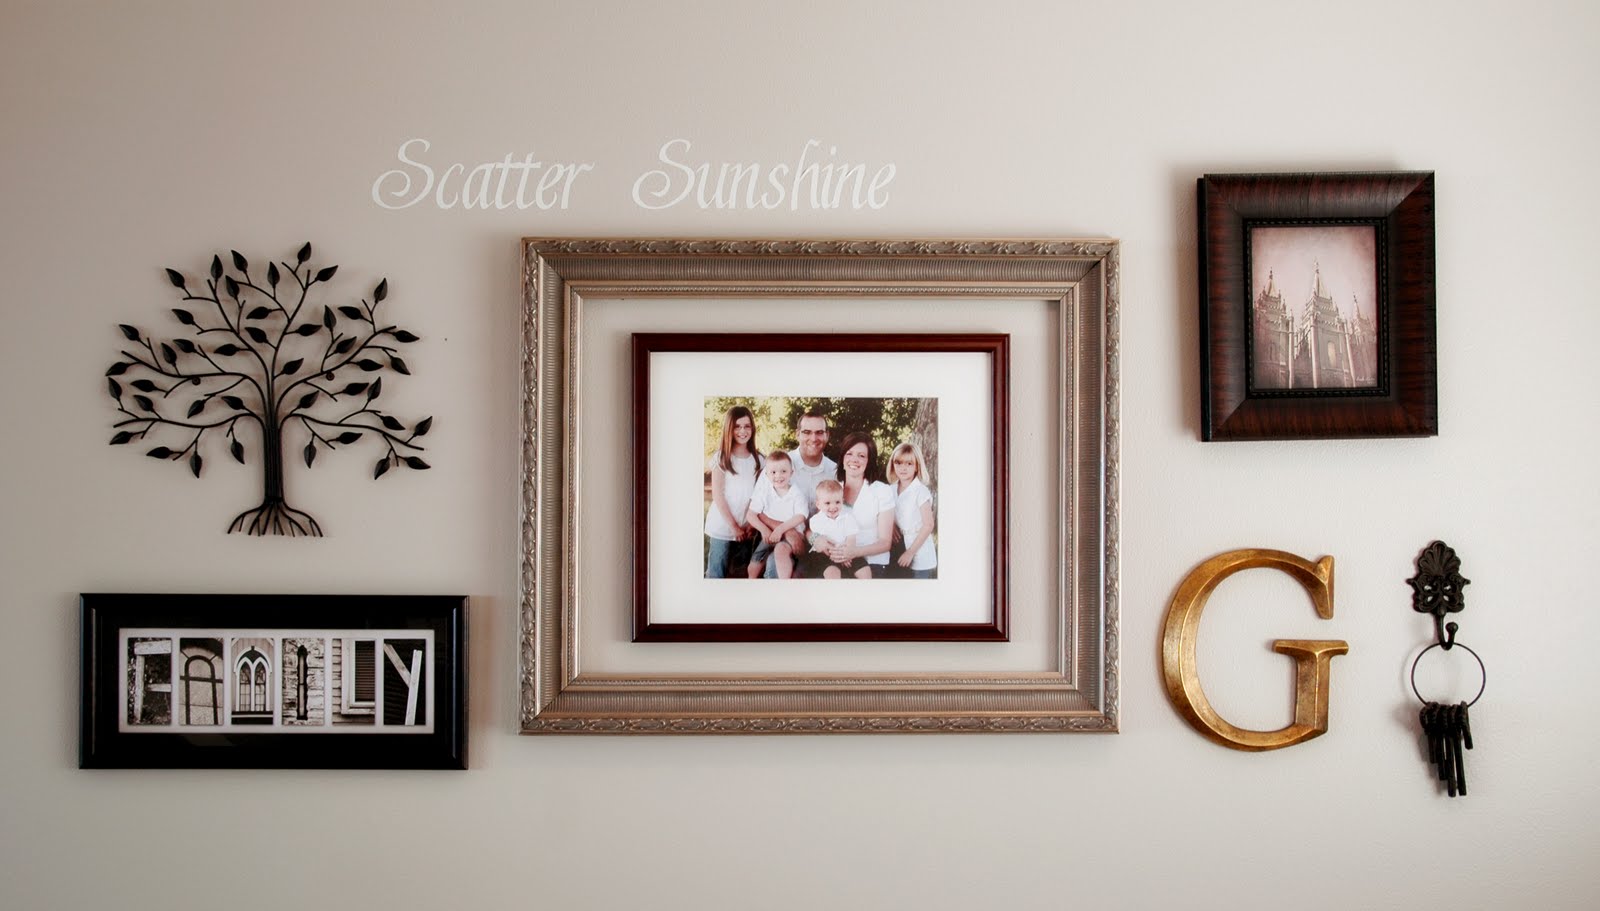
Finally, I centered our family picture on the wall...

I really wanted the picture to {POP} so I framed it in a very simple frame and then added this fancy open frame around it...

On the left side...

On the right side I put the picture of the temple (where my hubby and I were married) a little higher because I knew I wanted to add our family motto to the top and I wanted it to look balanced...

I got this little gem for Christmas...

which I used to make the last component of our picture wall...

I still can't believe I can cut my own vinyl now!!!!
Finally all together...

I LOVE it!
I'm SO glad I was patient and gathered each piece with a purpose.
I also love the texture of it all with the shiny and the rusty metal and the wood and everything!!


 Well, we needed a new mattress...
 and I talked my hubby into a King since we've wanted one for years...
 and I talked my hubby into a King since we've wanted one for years...
 And there's The King... on the floor.
 But not for long. I can't wait!!


 They are perfect for displaying the kids artwork.
  These curtains were my first attempt at using grommets. LOVE them.


 Do you have a room that is temporary... waiting for inspiration... or maybe the money to make your dreams a reality? That always helps too. ;)


