


Our summer is moving full steam ahead and slowly we are checking off our
"things to do this summer" list.
One thing we have been working on lately (which I LOVE!) is recipes for my girls.
I bought them each their own recipe box with strict instructions that they couldn't put any recipes in the box that they hadn't eaten and didn't LOVE.
They are basically starting their own 30 meal plan with all their favorites.
I love that they can keep adding recipes over the years and when they head off to college they already have recipes they know they can make and enjoy.
Hopefully there will be some happy memories of home that go with those recipes. :)


Since we are baking and trying new recipes we thought it would be fun for the girls to make their own aprons.
There are a million adorable apron patterns out there but we wanted an apron simple enough for the girls to totally make themselves and this is what we came up with...
THE TEA TOWEL APRON!
I know... it's VERY exciting...
There are a million adorable apron patterns out there but we wanted an apron simple enough for the girls to totally make themselves and this is what we came up with...
THE TEA TOWEL APRON!
I know... it's VERY exciting...


It is made from tea towels (duh) and it was seriously so easy to make!!

All you need is:
-1 tea towel (2 if you want to add pockets to it)
Mine were 24X14inches and I got them at Tuesday Morning in a pack of 3 matching towels so I can make 2 aprons with pockets out of the pack.
- 6-8ft of Ribbon (I used 7/8in grosgrain)
-matching thread
 I used an apron my MIL made for the girls a few years ago as a pattern for the top but you could just hold it up to the person and sketch with a fabric pen where to cut it.
Fold the raw edge over, pin it, and sew it.


For the straps that tie around back we cut 2- 26inch pieces of ribbon and sewed one on each side of the apron.

For the strap around the neck we used an 18inch piece of ribbon and sewed it at a bit of an angle to the top of the apron.

We added another stripe of ribbon to the top of the apron just for cuteness.

My girls wanted 3 pockets so we cut a 5inch piece of the coordinating tea towel and since they were both the exact same size we just marked where they wanted the pockets and sewed the fabric right across the front then I measured and stitched up the front to make 3 pockets.
 And that's it!
 The Terrific Tea Towel Apron! :)
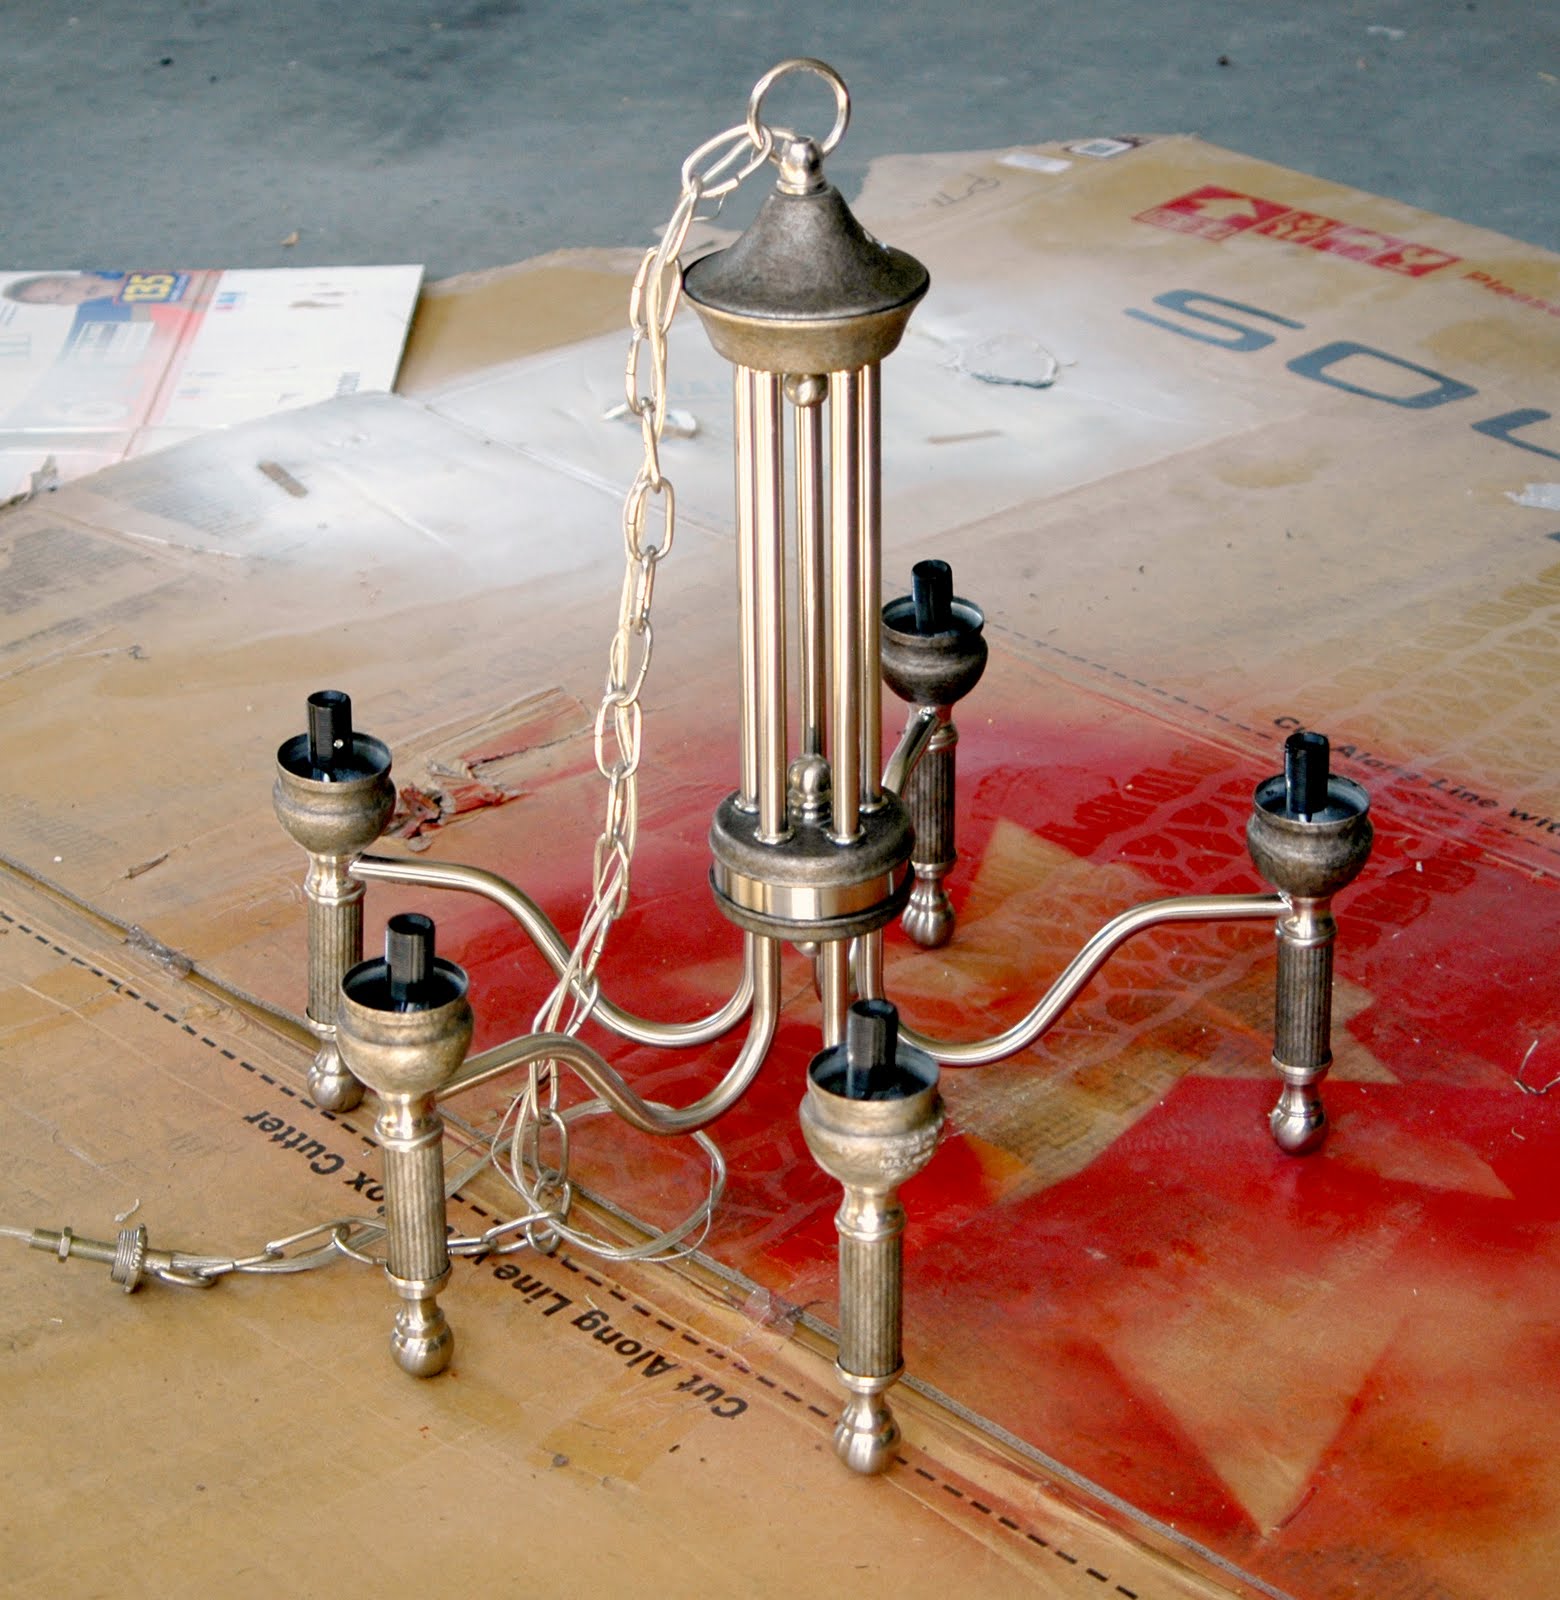
 A little spray paint primer (best invention ever!).
 Then I spray painted her with Krylon's "Celery" which is a light creamy green color.


